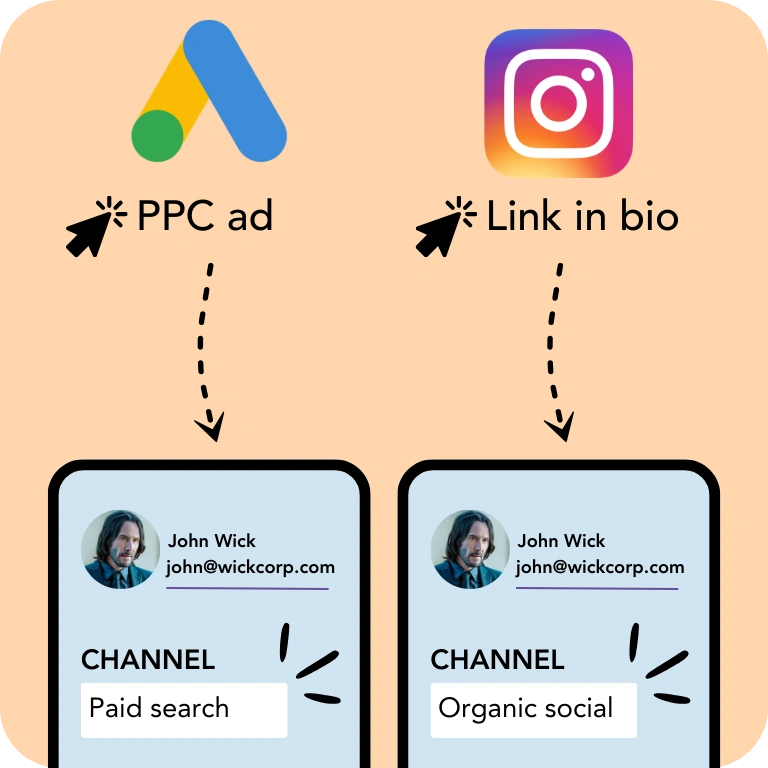
Are you using Leadpages for generating leads but struggling to attribute them to their originate channel?
Similarly, when a lead converts into a customer, you can’t determine which channel or ad brought them in.
With no tracking in place, you lose the ability to measure marketing success and identify the sources contributing to leads, sales, and revenue. This often results in inefficient spending in marketing activities with unclear ROI.
Luckily, you can easily map each lead and sale to the specific channel, campaign, keyword, and ad that generated them.
We’ll walk through this, step by step!
How to track the source of leads in Leadpages
Step 1: Add Leadsources in your website
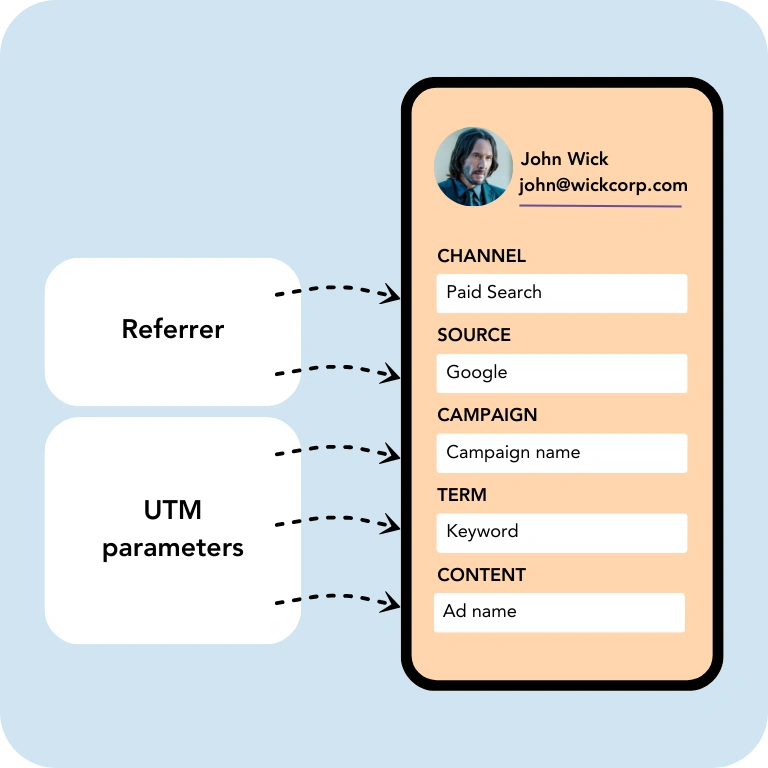
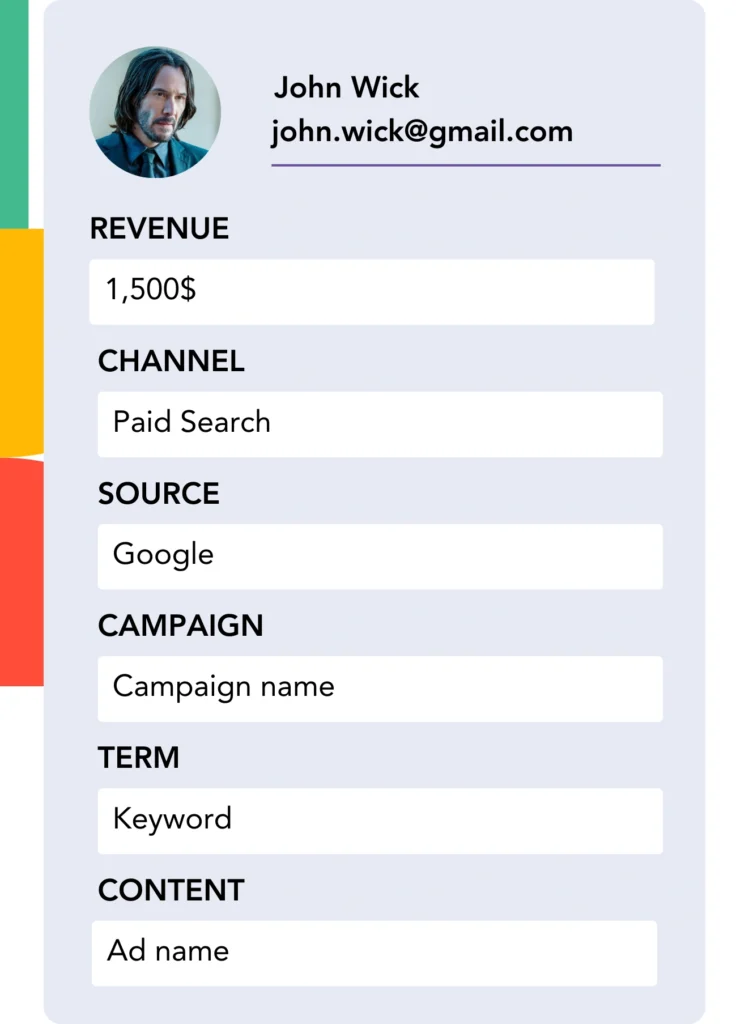
Leadsources is a powerful tool that makes tracking your lead sources simple. Once integrated into your website, it monitors up to 7 essential lead source details for every lead:
- Channel
- Source
- Campaign
- Term
- Content
- Landing page
- Landing page subfolder
➡️ Sign up to Leadsources.io for free
➡️ Add the Leadsources tracking code to your site
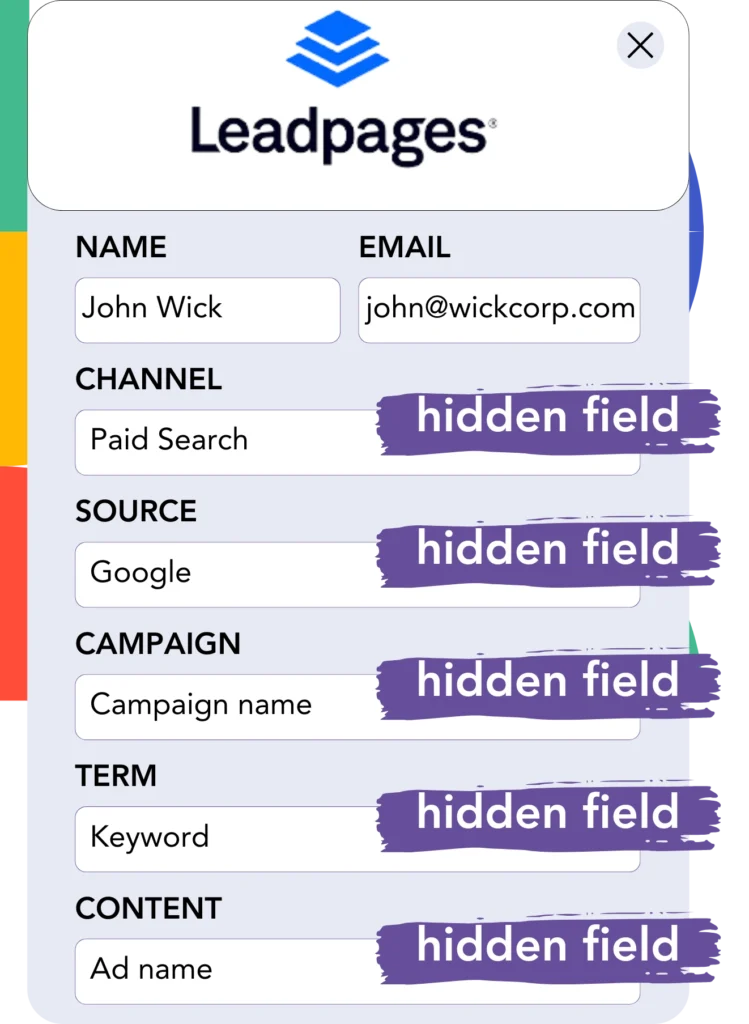
Step 2: Add the hidden fields in Leadpages
Hidden fields are form elements that users don’t interact with but hold valuable data that’s submitted alongside the form.
Leadsources utilizes hidden fields to store information about the lead source. These fields are automatically completed with the lead source data when a form is submitted.
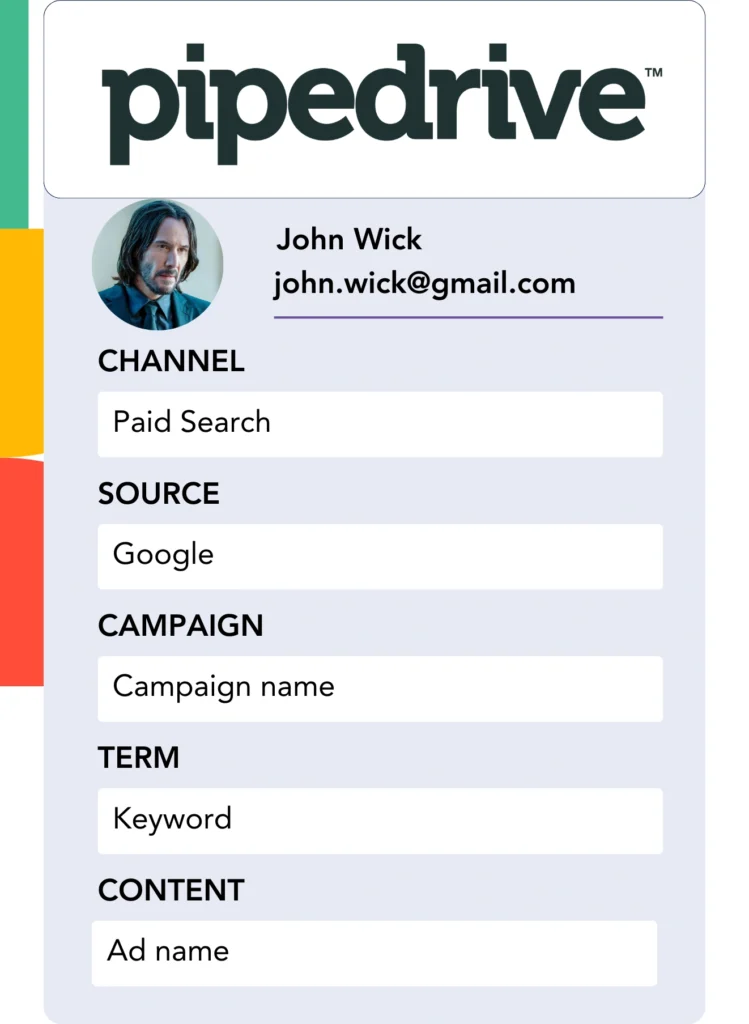
Step 3: Send lead source data to your CRM (optional)
Lead source details from your form builder can be pushed to your CRM.
Your CRM helps track where your leads, sales, and revenue are generated from.
You can track how your marketing activities influence your sales performance.
How does Leadsources work?
When someone visits your website, Leadsources gathers the lead source data and automatically populates the hidden fields in your Leadpages. After submission, this data, along with the lead’s name and email, is sent over to Leadpages.
Leadsources records the source data for every lead to ensure accurate tracking:
Lead source data | Fetched automatically |
Channel | ✅ |
Source | ✅ |
Campaign | ✅ OR use UTM_campaign |
Content | UTM_content parameter is required |
Term | UTM_term parameter is required |
Landing page | ✅ |
Landing page subfolder | ✅ |
When UTM parameters are not applicable—like when your site is mentioned in articles or driven by organic Google search traffic—Leadsources still collects essential lead source data to give you a full view of where your leads are coming from:
✅Channel
✅Source
✅Campaign
✅Landing page
✅Landing page subfolder
Unlike other tools, Leadsources enables tracking of lead sources across the full spectrum of marketing channels, from organic to paid.
Pick a channel to examine the lead source data that Leadsources inserts into your form fields.
Performance reports: Lead, sales, and revenue by source
Capturing lead source data in your CRM allows you to produce performance reports, including:
- Leads, sales, and revenue by channel
- Leads, sales, and revenue by source
- Leads, sales, and revenue by campaign
- Leads, sales, and revenue by term (e.g. keyword or adset)
- Leads, sales, and revenue by content (e.g. ad)
- Leads, sales, and revenue by landing page
- Leads, sales, and revenue by landing page subfolder
With this approach, you can distribute your marketing budget more effectively across channels, sources, campaigns, terms, content, etc., that yield the most leads, sales, and revenue.
Now, let’s take a closer look at the reports you can generate.
1. Lead source reports
Create detailed reports that track the number of leads generated by:
- Channel
- Source
- Campaign
- Term (e.g. keyword or adset)
- Content (e.g. ad)
- Landing page
- Landing page subfolder
Example #1: Leads by channel
This report determines the channel that generates the largest number of leads.
Example #2: Leads by campaign
Now, you have the ability to focus on a particular lead source, such as Facebook ads, and track the lead generation for each campaign using its UTM parameter.
Example #3: Leads by keyword and ad
After identifying the campaign that generates the highest number of leads, you can investigate which keyword or ad is leading to those results by utilizing the term or content UTM parameters.
2. Sales source reports
After identifying the channels, sources, campaigns, terms, and content generating leads, it’s crucial to check if those leads are converting into actual sales and revenue.
Start by sending your leads to your CRM. This enables tracking of your sales and revenue sources, such as channels, sources, campaigns, terms, content, landing pages, and subfolders.
With this data at hand, you can readjust your marketing strategy, prioritizing the channels, sources, campaigns, keywords, and ads that lead to the highest sales and revenue.
There are multiple sales and revenue reports you can create, including:
- Sales and revenue by channel
- Sales and revenue by source
- Sales and revenue by campaign
- Sales and revenue by term (e.g. Keywords)
- Sales and revenue by content (e.g. Ads)
- Sales and revenue by landing page
- Sales and revenue by landing page subfolder
Check out this example for insight:
Channels | Search Paid | Social Paid |
Leads | 50 | 75 |
Sales | 5 | 6 |
Average order value | $150 | $100 |
Revenue | $750 | $600 |
After launching campaigns on both Google Ads and Facebook Ads Manager, the first “Leads by Channel” report showed that Social Paid (Facebook) ads produced more leads than Search Paid (Google) ads.
Upon reviewing your CRM’s sales and revenue information, you discovered that the Search Paid channel outperformed the Social Paid channel in terms of revenue, even with fewer leads. As a result, you made adjustments to your budget to place greater emphasis on the Search Paid channel.