Home » Lead Source and Marketing Attribution Tracking in Zendesk Sell » How to track YouTube ad parameters in Zendesk Sell
Watch lead source tracking in action
You’re running YouTube ads and sending leads to Zendesk Sell, but tracking which exact campaign, ad group, or ad generated each lead can feel impossible.
While YouTube ads show the total number of leads per campaign, they don’t link individual leads (or the revenue they eventually bring) to specific campaigns, ad groups, or ads.
In this article, I’ll show you a method to capture YouTube UTM parameters in Zendesk Sell for every lead, so you can see exactly which ads drive results.
LeadSources is a marketing attribution software that tracks YouTube ads UTM parameters for every lead you generate.
When a visitor converts into a lead, LeadSources automatically captures the YouTube ads UTM parameters from the URL and injects them directly into Zendesk Sell.
Each lead comes with a comprehensive lead source report, including:
LeadSources lead source attribution doesn’t only work for YouTube ads, but also for other channels such as: SMM, SEO, social, PR, emailing, etc.
LeadSources relies on a robust attribution algorithm to ensure attribution for 100% of the leads:
Imagine a visitor comes to your site through a YouTube ad but leaves without filling out your form.
Four months later, the same person returns via an organic search on Google and completes the form.
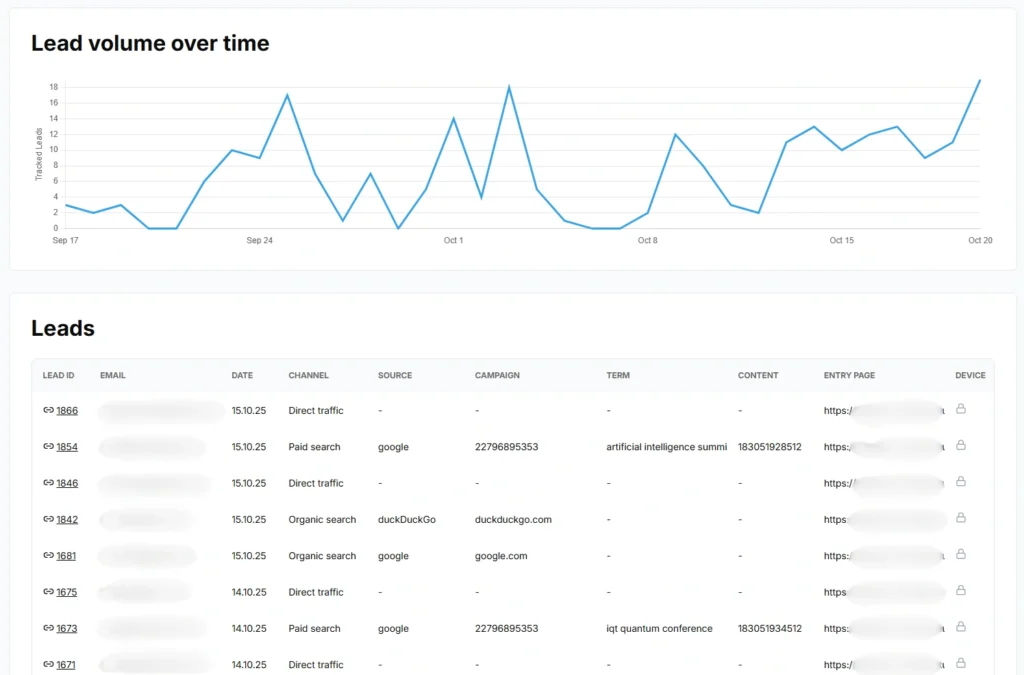
LeadSources tracked all previous visits and generated a complete lead source report, capturing every session (from the first click to form submission).
By tracking the full journey, you gain a clear understanding of how each marketing channel contributes to lead generation.
This insight allows you to calculate the exact ROI for every channel involved in driving the sale.
Sign up to LeadSources (we offer a 14-day free trial).
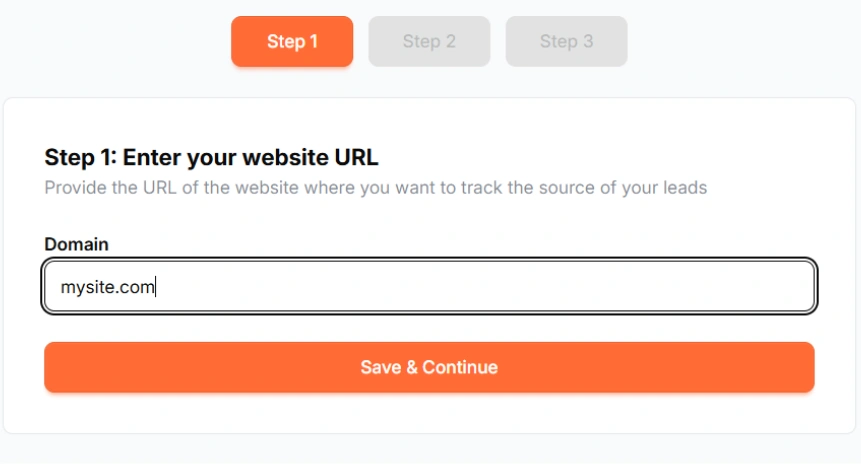
Enter the URL of the website you want to track.

Copy and paste your LeadSources tracking code into the <head> section of your website.
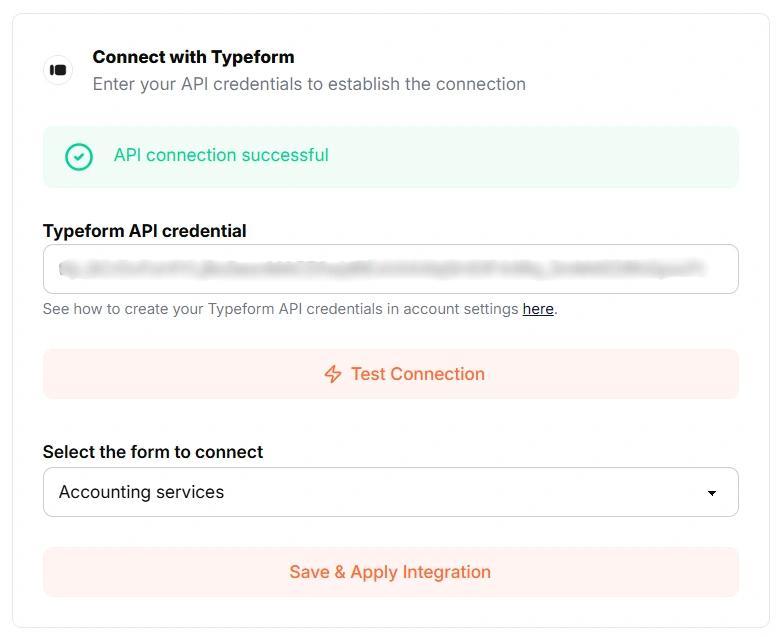
Connect your form in one click with our native integrations.
Select the form you want to track.
LeadSources will start tracking the YouTube ad UTM parameters for every lead you generate.

You can send to Zendesk Sell the following YouTube ad UTM parameters for each lead:

Yes. You can send YouTube ad UTM parameters to Zendesk Sell using LeadSources:
LeadSources collects the following YouTube ad UTM parameters for each lead you generate (Make sure to add them to the URLs of your different marketing campaigns):
Besides the UTM parameters, the following lead source data is also appended to each lead:
This data is available in your LeadSources dashboard.
You can send the following last-touch attribution data to Zendesk Sell:
As multi-touch attribution software, LeadSources tracks YouTube ad UTM parameters throughout the entire customer journey (from first click to lead submission). This data is displayed on your LeadSources dashboard.
From there, you can send the last-touch attribution data (including YouTube ad UTM parameters) in Zendesk Sell.
Start your free trial today and track the full source of every lead throughout their journey.