Home » Ninja Forms » Ninja Forms UTM tracking
You use UTM parameters to track traffic to your website, but they are lost when visitors fill out your Ninja Forms.
In addition, if visitors arrive via a link containing UTM parameters and then navigate to other pages on your site, those parameters are lost and cannot be collected by Ninja Forms.
In this article, I will show you how to collect UTM parameters when a user submits your Ninja Forms (even if they have visited multiple pages on your site or even months earlier before submitting the form).
By connecting LeadSources with Ninja Forms, you can track UTM parameters for each lead submitted.
When you connect LeadSources with Ninja Forms, every lead comes with a rich profile of 9 data points.
UTM parameters such as campaign, term, and content are also tracked.
UTM parameters remain tracked even if the visitor navigates multiple pages on your site before submitting your Ninja Forms.
Now, imagine a user visits your site from a URL containing UTM parameters but leaves without filling out your Ninja Forms.
Four months later, this user returns to your site from a Google search and completes your form.
LeadSources remembers all previous visits and provides a complete report of every session that occurred before the form submission.
Tracking the full lead journey helps you understand the role each marketing channel plays in your lead generation strategy.
That ad that seemed ineffective because it didn’t generate leads might actually be the first touchpoint of your most valuable leads. The full lead journey simply wasn’t visible before.
Sign up to LeadSources (we offer a 14-day free trial).
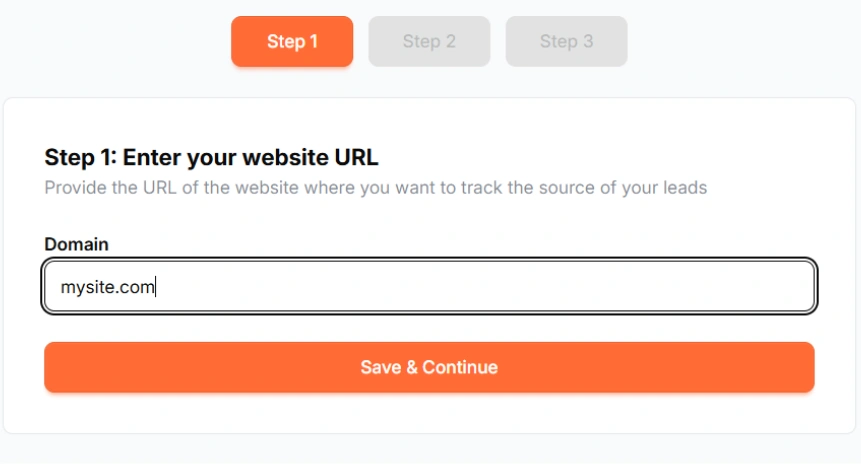
Enter the URL of the website you want to track.
Copy and paste your LeadSources tracking code into the <head> section of your website.
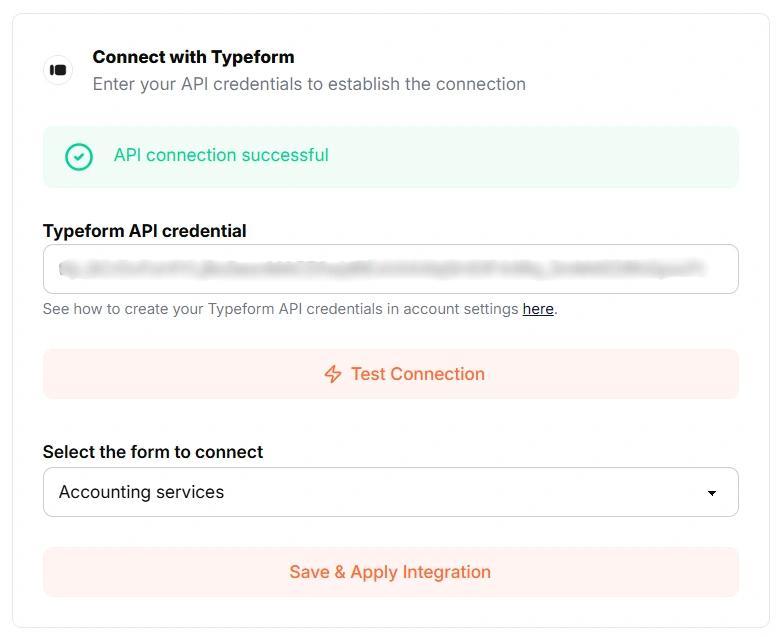
Enter your Ninja Forms API credentials to connect your account.
Then, select the form you want to track.
LeadSources will start tracking the source and journey of every lead you generate on Ninja Forms.
Start your free trial today and track the full source of every lead throughout their journey.
